Pages

Showing posts with label Camera Case. Show all posts

Wednesday, July 13, 2011

Driving, driving, driving

Lately it seems like I do a lot of driving. If I'm not on my way to the homestead (a three hour trip), I'm on my way to Columbus to the Hospital/Doctor (an hour and a half trip.)  Typically, I love to drive.  However, three main factors have begun to lessen my love of driving. 

First, my car isn't in the shape it used to be in.  Now when I've driven long distances I have to do some maintenance on my car after the trips to ensure it keeps running.  Its not hard work but, just not something I enjoy doing.

Secondly, my body is not in the shape it used to be in.  I can not handle long spans of time sitting in one spot.  I find I am no longer able to just drive for the three straight hours home, but must stop at least once to use the necessary room and just to move.

Finally, its so RIDICULOUSLY expensive to travel these days.  Most of my trips are subsidized by my loving parents (thank goodness) or I'd really be stuck.  Trips to the Dr., food, or meds?  Tough choices.

Anyway, my photos today include photos I took while driving (don't worry, I was careful).  They aren't great pictures by any stretch of the imagination, just quick snapshots. The others are just some quick pictures I took throughout the day.  I really want to get back on the wagon posting everyday, so sorry if they may be boring pictures, I really want to get into the habit though. (Oh and just FYI, in the 5 minutes I was walking around my house to snap a few photos, I got 5 mosquito bites.  I wish I knew why my blood was so sweet to
mosquitoes.)

Well, that's all for today, here's my pictures and I'm off to take some meds, unpack and go to bed.  I spoke to soon yesterday about having pain after my procedure.  Today has definitely made up for any lack of pain I had yesterday.  Ugh!! :(

Nicholas & Kayla ready to swim at Andy & Angela's house.  When did they get so grown up?

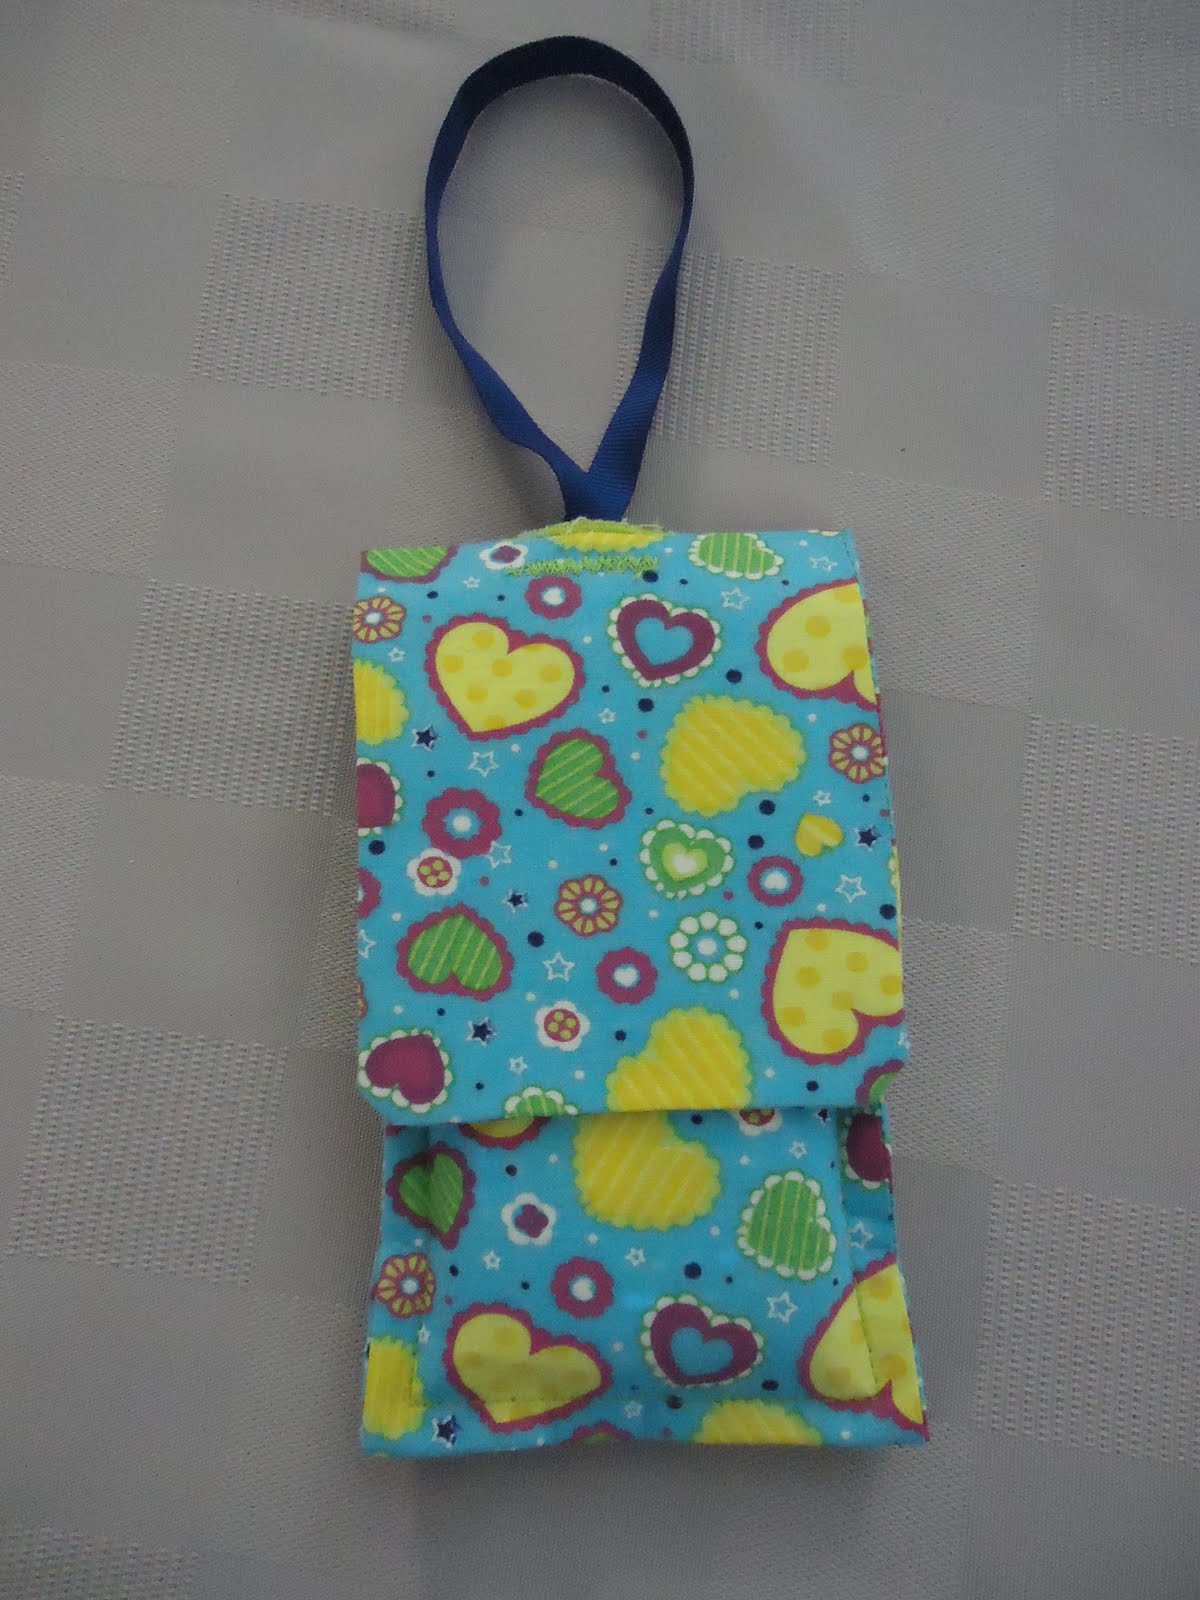
My newest camera/blackberry case.  I made it last night when the pain started.  I have found sewing is a great distraction, so I may be doing a lot more sewing in the coming months. Love this fabric (thanks Mom!)

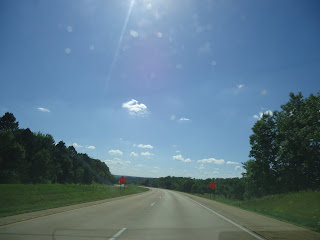
On 30 just outside of Mansfield.  Sometimes Ohio is so pretty.

The Columbus skyline off of Route 71 south.  Have I mentioned how much I love Columbus?

A flower blooming on a bush at the back of my house. I love the variance of colors.

A gall on the tree in my front yard.  Cool.

A little informal sidewalk art for the people I love most.  Hi babies!!!

Thursday, June 23, 2011

Camera Case Tutorial

Today I was home sick.  I woke up this morning with a sore throat and little to no voice.  With rest today, its coming back, but this is annoying.  This is my 5th case of laryngitis in the last year.  Its not contageous, just me.  If not for my stupid stomach and espopheagus not working right this wouldn't happen.  But, we're working on that and maybe I'll be over this in another couple months.

After sleeping til past noon, and watching a bit of TV, I was bored.  So, I decided to work on something I've been wanting to make.  Simple, easy, functional and quick.  I was done with the whole project in less than 45 minutes.  And since I needed to have some photos for my blog, I turned it in to a tutorial.

Here they are, today's photos in the form of a tutorial for a Digital Camera Case.

This is my camera.  A Sony Cybershot.  I was lucky enough to get it for Christmas from my parents and I LOVE IT!

My first step was to measure. My camera is approx. 2.5 inches wide by 3.5 inches long.  So i made my fabric pieces (1 lining, 1 outside piece, 1 piece of pellon interfacing) 13 inches long by 4 inches wide.  I used all remnant fabric from old projects.  So, not only was it lovely, it was economical too!

Next I ironed the lining and exterior piece to get them nice and smooth and flat.

I often like to use a little bit of spray starch to add stiffness and help get out any major wrinkles.

Next iron the interfacing to the wrong side of the exterior fabric.  I have tried making projects where I put the interfacing on the lining and it just never works out as well.  Be sure to follow the manufactures directions for the type of interfacing you are using.  I always use Pellon 808.  I should start buying the stuff by the bolt.

Next pin the two fabrics together right sides facing each other.  (With the blue cotton there really is no wrong side, but if you were using something that had a right and wrong side, be sure to place the right sides facing each other.)

Sew the 2 pieces together leaving about an 1.5 inches open on one end of the strips.


Trim the edges off the fabric.
At the corners make an angle cut so that the corners when turned will lay nicely.
Use the opening to turn the fabrics right side out.


Turned out strip of fabric.

Iron the piece out to press out all seams and to press the ends under at the opening to create a new seam.

Pin the open edges together. Sew close to the edges to finish the seams.

Fold up the bottom portion of the strip of fabric to create a 'pocket'.  Leave approx. 1.5 to 3 inches for the flap.

Sew up the sides, being sure to sew close to the edges to keep the pocket as wide as possible.

See how snugly she fits in the pocket.

And this is the perfect size for my Blackberry as well.  That will be my next project to create a custom case for my BB.

Now, its time to sew a button hole to pull the camera strap through for ease in carrying.  First decide where your opening will need to be on the flap.  It should be right on the crease where the flap folds over to the front.  I measured to find the middle and then made about a half inch line for the hole.  Draw a guide on to help you see exactly where to make your button hole.  I used pencil since when I'm done this portion will be cut and covered with thread.

Use the button hole feature on your machine.  The first several times i made button holes I carefully followed the instructions in my sewing machine manual.  I suggest you do the same.

Make sure to attach your button foot and get your seam ripper out.  You'll need it in a moment.

Follow the manufacturer's instructions and sew your button hole.  It should look something like this!  Then use your seam ripper to tear the fabric between the sewn sides.  Be careful not to rip any stitches or the whole thing will fray out.

This is what the button hole will look like with your strap pulled through. 

Now, its time to add some closures.  I chose snaps, mainly because i have a lot of them.  Position your snaps on the fabric where they will meet easily to close your pouch.  Now hand sew them on tightly.  More is better to help keep them on for a long time.  I used the same thread I used on my machine to hand sew the snaps on.

And here you have it.  A cute, small, easy, economical camera case.  Perfect to toss in my purse and keep my camera from harm.  As you can see where I sewed the snap on I was careful to keep it neat so that it looks like a pretty little diamond on the exterior of the flap.  Hope you enjoyed this tutorial and if not at least were mildly interested in some of my photos.